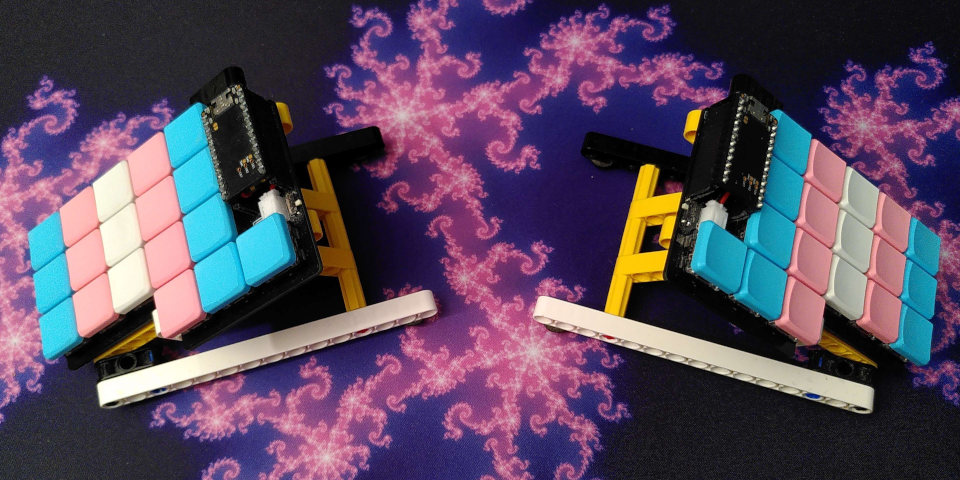
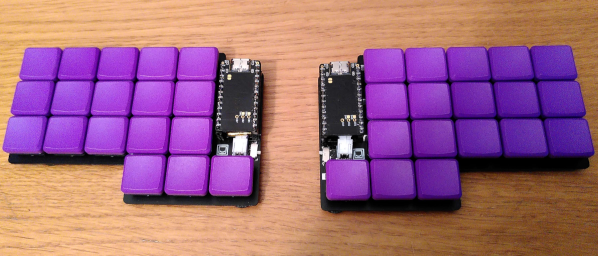
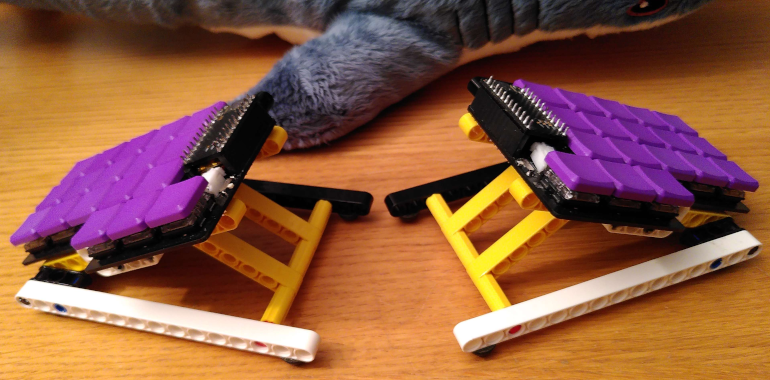
my minimalist split keyboard
| cad | ||
| gerber | ||
| images | ||
| kicad | ||
| lego_tenting.md | ||
| leko_pona_gerber.zip | ||
| README.md | ||
leko pona
Related repos
- ZMK config (layout based on colemak-dh)
- Ergogen config used to generate the pcb
Parts list
- nice!nano x2
- 12 pin socket strips x4
- JST-PH battery connectors x2
- PCM12 power switch x2
- 3.7V 130mAh battery x2
- choc switches x36
- choc keycaps x36
- choc hotswap sockets x36 (optional)
- rubber feet (optional)
Notes about assembly
- Solder pads for the reversible footprint should be soldered on the underside of the board if you want the back of the nice!nano facing up (like in the picture)
- The battery connector is slightly asymmetrical on the two halves, it should be clear from the outline on the silkscreen which way to put it
- If your batteries are small enough you can tuck them under the controllers
- You can use a permanent marker to get a clean look on the edges of the pcbs


